Google’s API requires that each client have a credit card on file for usage, so if we have a customer who is using a locator plugin that uses Google API, (which seems to be all of them) they will need to complete this step in order to setup/update their plugin.
1. Setup a new project for the client in our developer console
Go to the Google Cloud Platform Console.Click the menu button and select Home.Click the project drop-down and select NEW PROJECT.On the New Project page, fill in the required information.Project name: Accept the default or enter a customized name.The project name can be changed at any time. For more information, see Identifying projects.Project ID: Accept the default or click EDIT to enter a customized ID.The project ID cannot be changed after the project is created, so choose an ID that you’ll be comfortable using for the lifetime of the project.Location: If you have an organization you want to link your project to, click Browse and select it, otherwise choose “No organization”.For more information, see Creating and Managing Folders and Relationships between organizations, projects, and billing accounts.Click CREATE
2. Invite the customer to add their credit card to the project
Go to the Google Cloud Platform Console.Select the Project and click on “IAM and admin”: Add a new user (at the top) who will add their credit card to the account.Send Saved Reply: “Google API Billing Setup” to customer in HelpScout
 and select Home.Click the project drop-down and select NEW PROJECT.On the New Project page, fill in the required information.Project name: Accept the default or enter a customized name.The project name can be changed at any time. For more information, see
 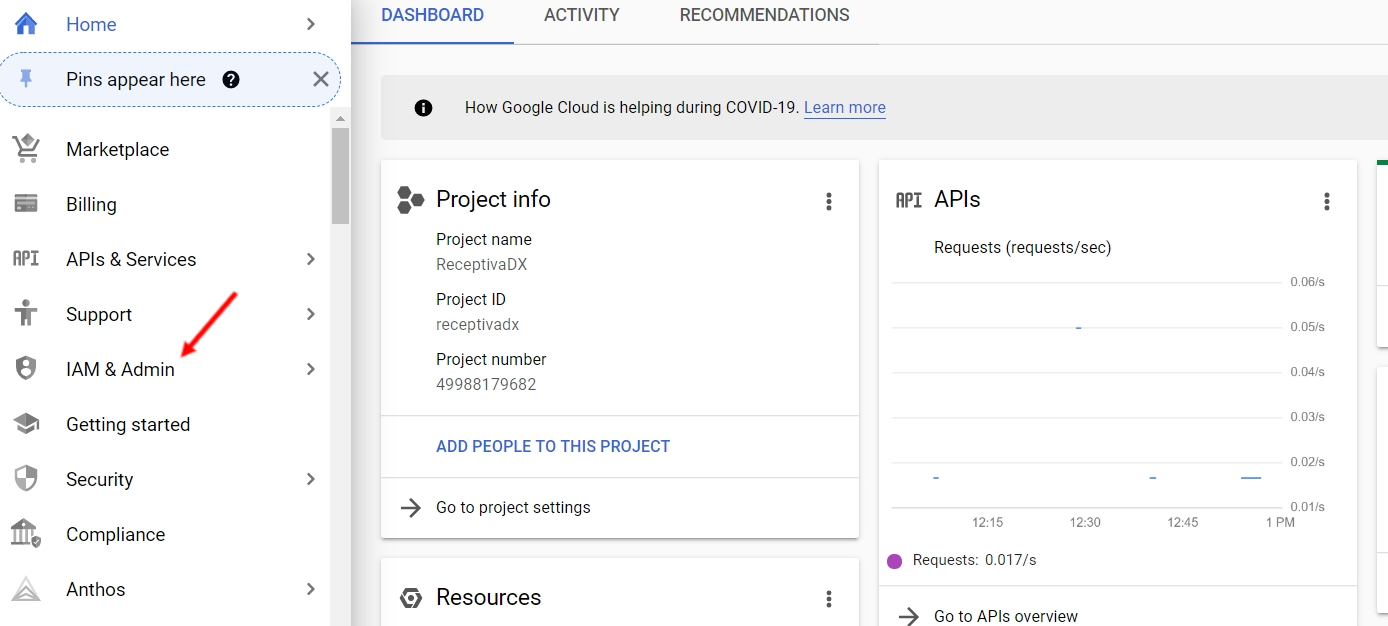 Add a new user (at the top) who will add their credit card to the account.Send Saved Reply: “Google API Billing Setup” to customer in HelpScout